¶ Using our built-in plugin & mod manager
¶ Introduction
This guide will walk you through installing mods for Minecraft: Java Edition using our built-in Mod Manager tool. This makes modding simple, without needing to manually handle files. If you prefer, you can still upload and manage mods using our File Manager or SFTP options.
¶ Disclaimer
CLW provides a set of recommended packages for modding. If you attempt to install mods on a server build that is not intended for modding (for example, vanilla builds), we cannot provide support for any resulting crashes, instability, or performance issues.
¶ Prerequisite
Before beginning, ensure your server is stopped.
¶ Steps
- From your Game Panel, navigate to the Tools section. Click either Plugin Manager or Modpack Manager.
- In this example, select Modpack Manager.
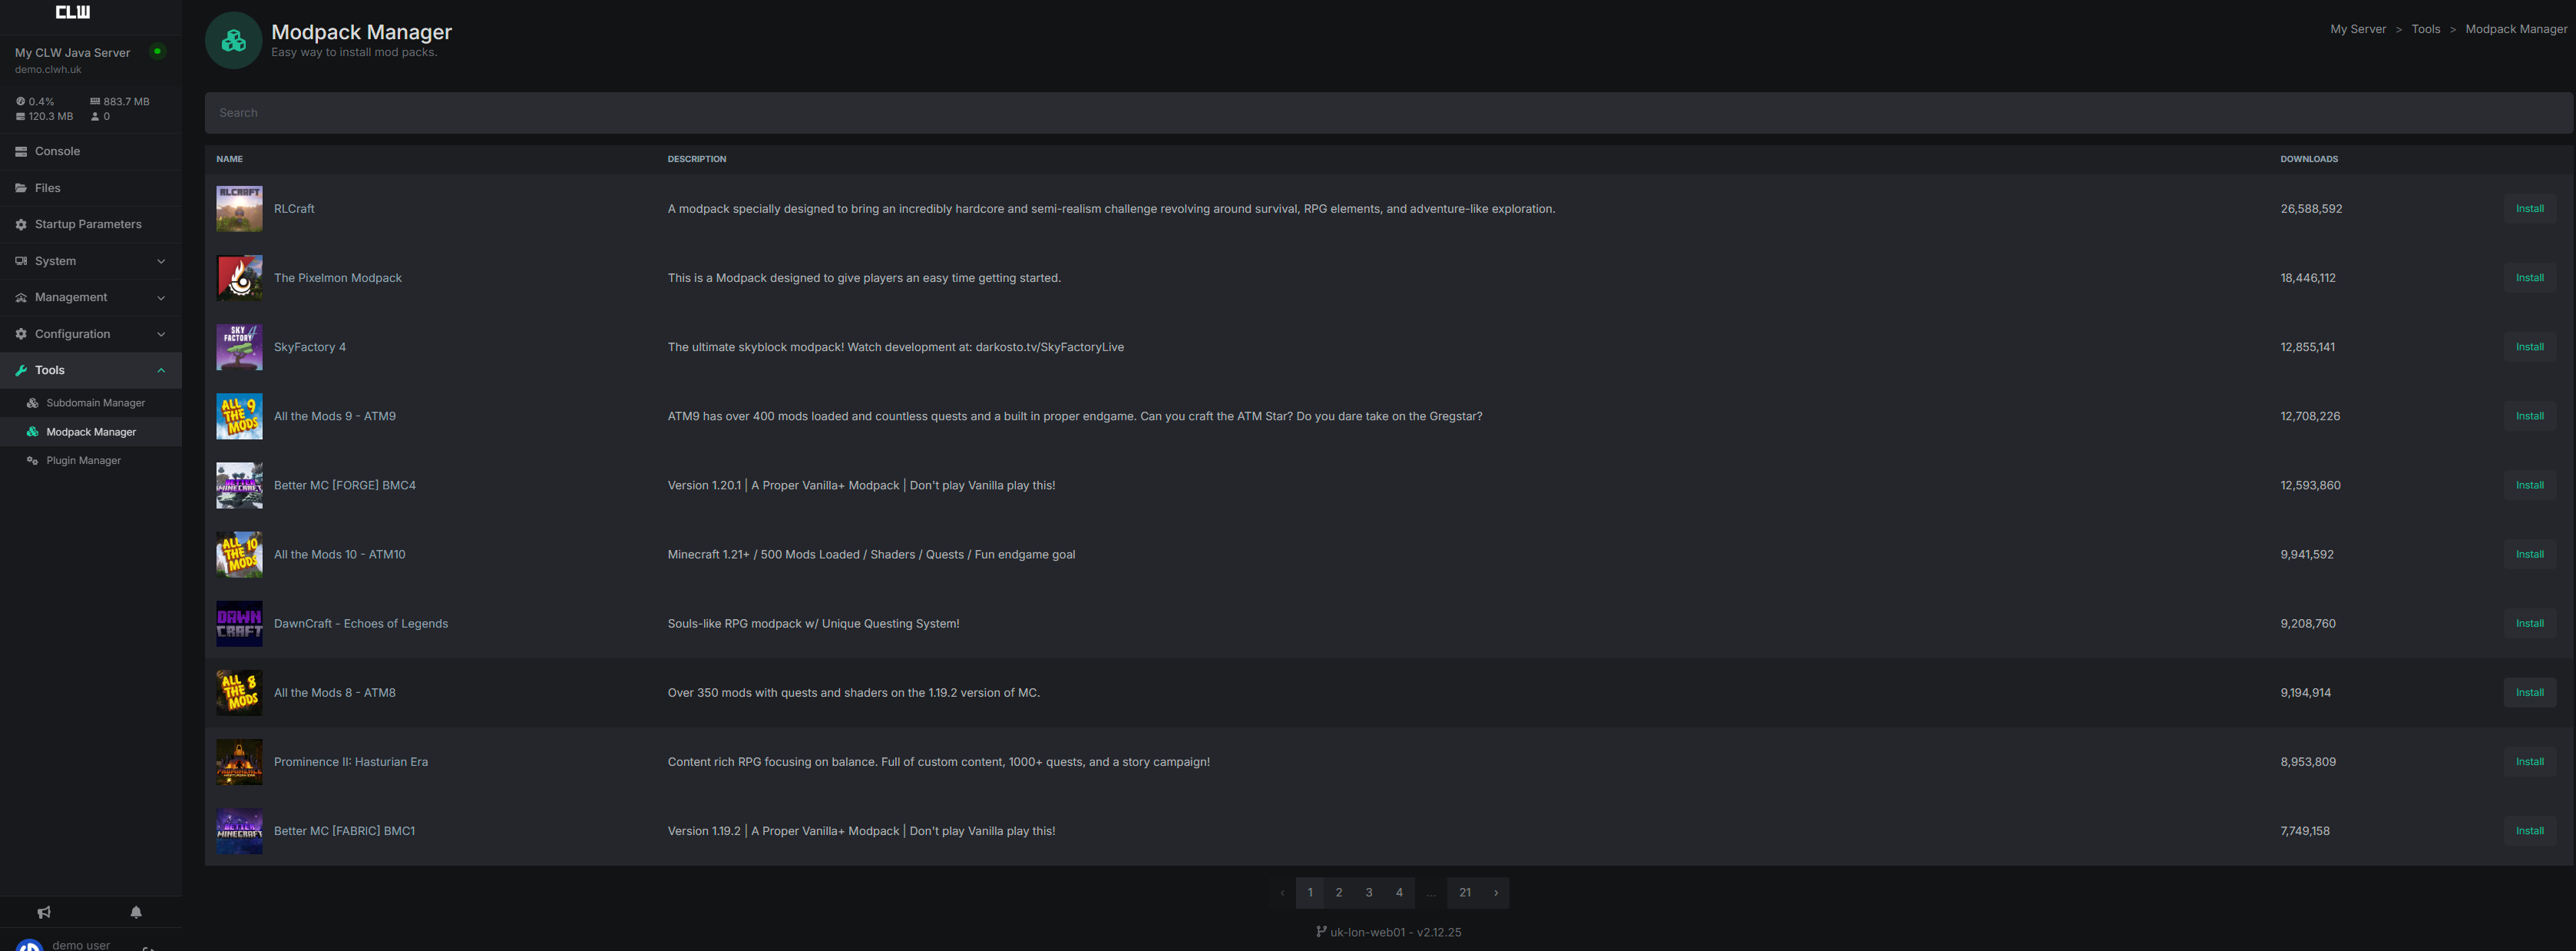
- Choose the modpack you’d like to install. For this example, we’ll install the Pixelmon Modpack.
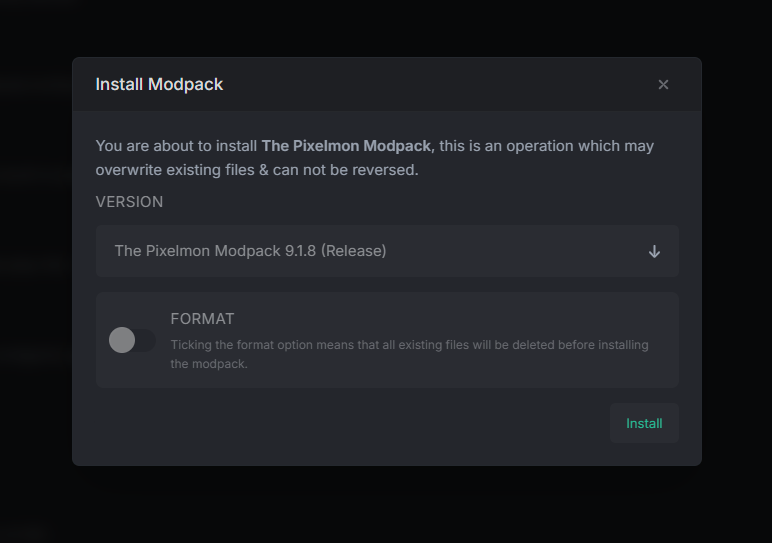
- Click Install.
- (Optional) You may format your server before installation. Warning: This will delete all existing world and player data.
- Select the desired modpack version. In this example, we’ll install the latest Pixelmon release. Click Install.
-
Once installation is complete, you’ll receive a notification in the Notification Center.
Don’t see the notification? Refresh your panel with
Ctrl + F5after about a minute.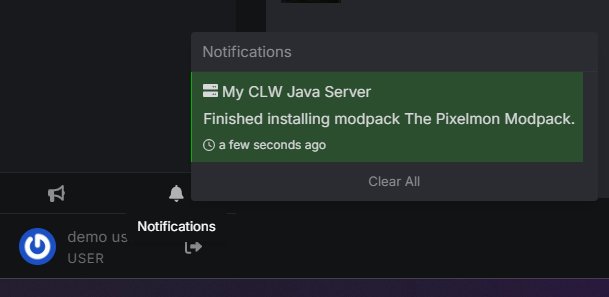
-
After installation, start your server.
-
Encountering errors on startup? Make sure you selected a compatible Minecraft version. Learn more here.
-
Still getting errors? Verify that you are using the correct Java version. If needed, you can reset this by deleting the
disable_prompt_for_java_versionfile in the File Manager, then restarting the server. -
Once your Java version and Minecraft version match the requirements of your modpack, restart your server.
-
If issues persist:
- Try formatting the server and reinstalling.
- Contact CLW Support — we’re here to help!
-
Finally, join your server! Remember: your Minecraft client must match the server’s version and modpack.