¶ Game Server Control Panel Overview
¶ Introduction
Our CLW Game Server Panel is a user-friendly web interface that allows you to manage your game servers. It provides all the necessary tools for controlling, managing, and configuring a server, including the ability to create backups and manage user roles.
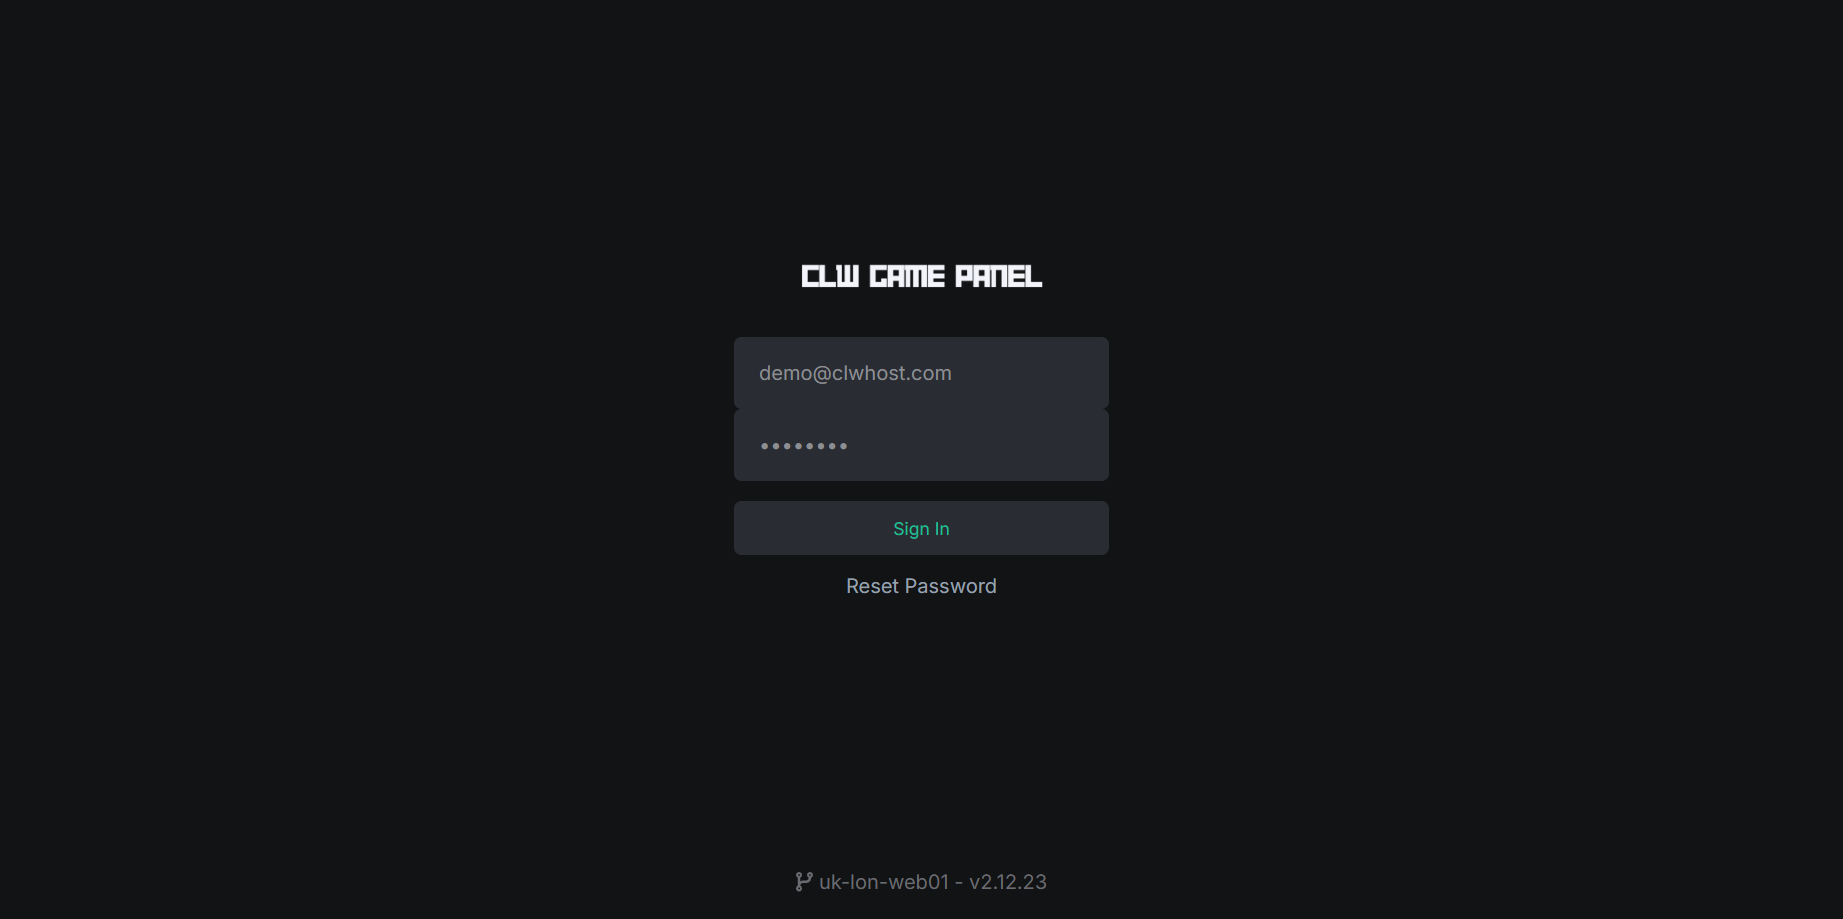
¶ Login page
To access the game server panel, you must first log in to the login page. Enter your username and password here. Make sure to keep your login information safe and select the "Stay logged in" option if necessary.
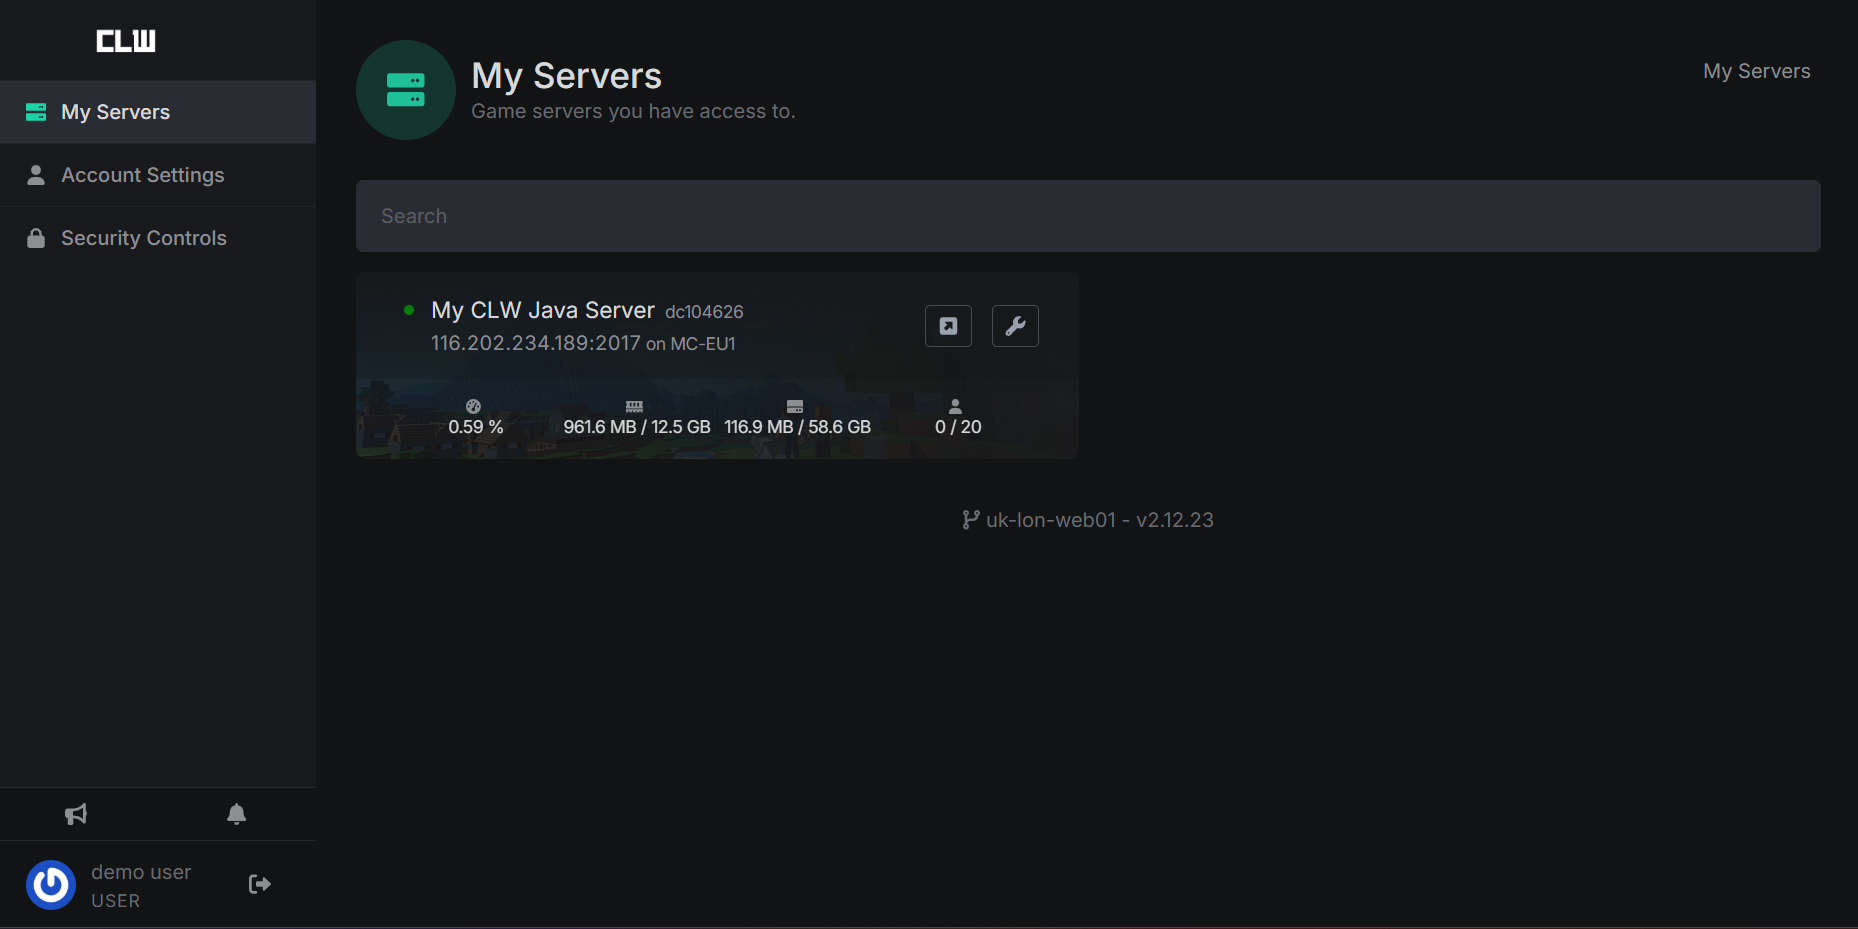
¶ Login and Dashboard
After logging into the game server panel, you'll be taken to the dashboard. Here you'll see an overview of all the servers available to you.
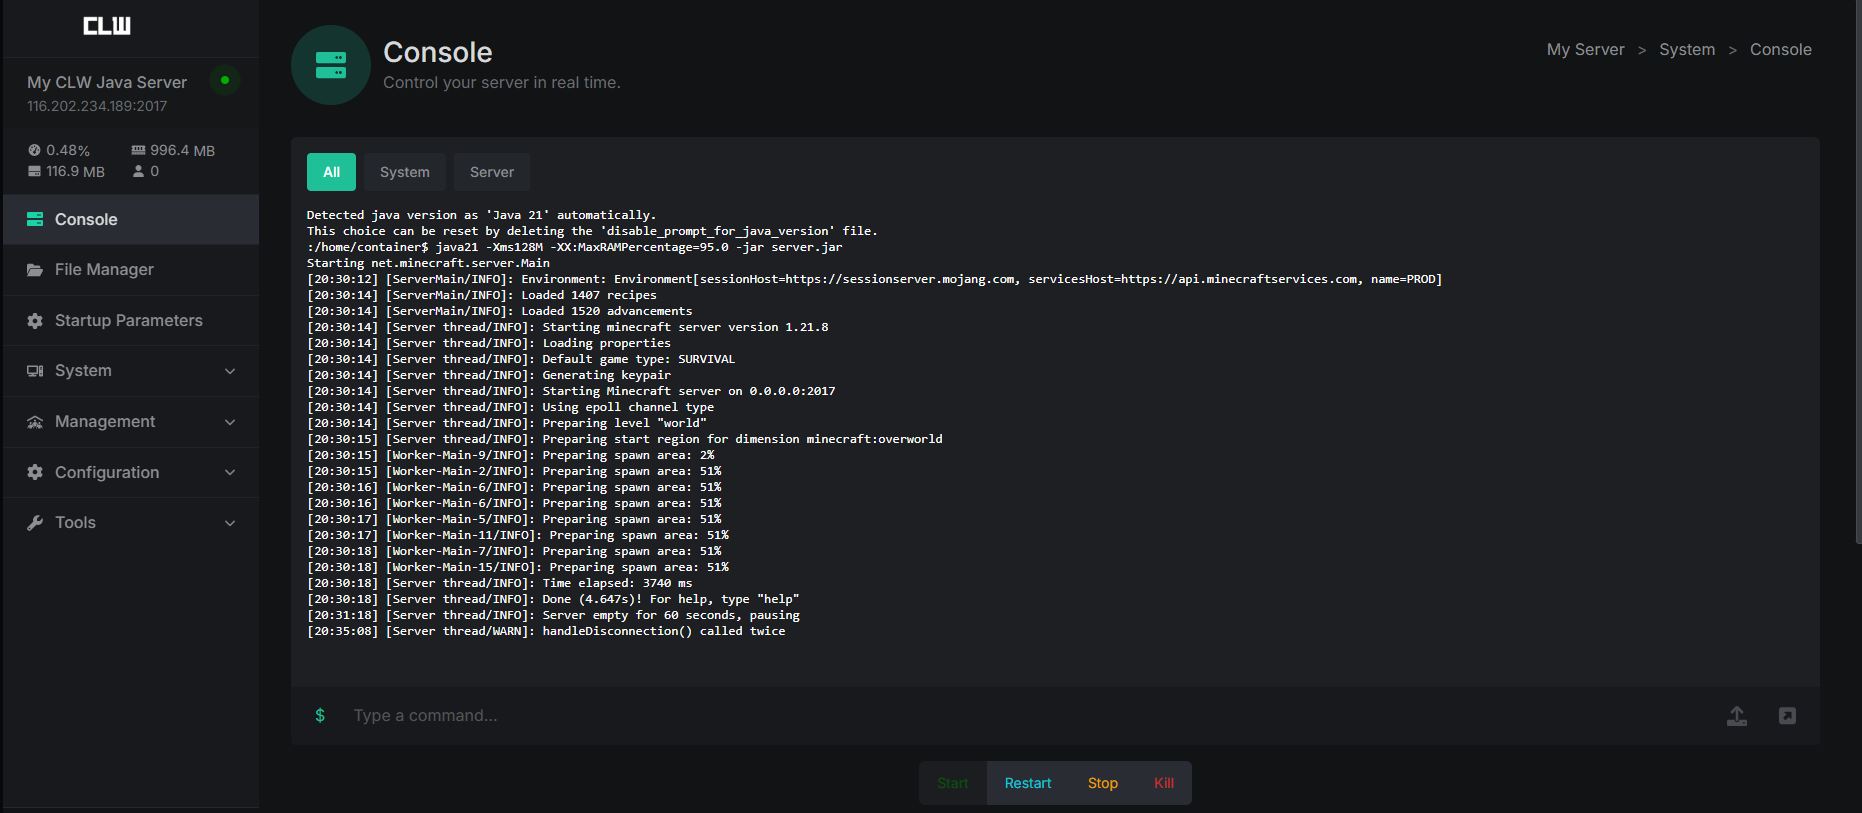
¶ Server administration
In Server Management you can start, stop, restart or reinstall your servers. And View the console
-
Server Status
: Shows whether the server is online or offline.
-
Server Control
: Starting, stopping and restarting the server.
-
Console
:Here you can interact directly with the server console. The console displays live logs and allows you to enter commands.
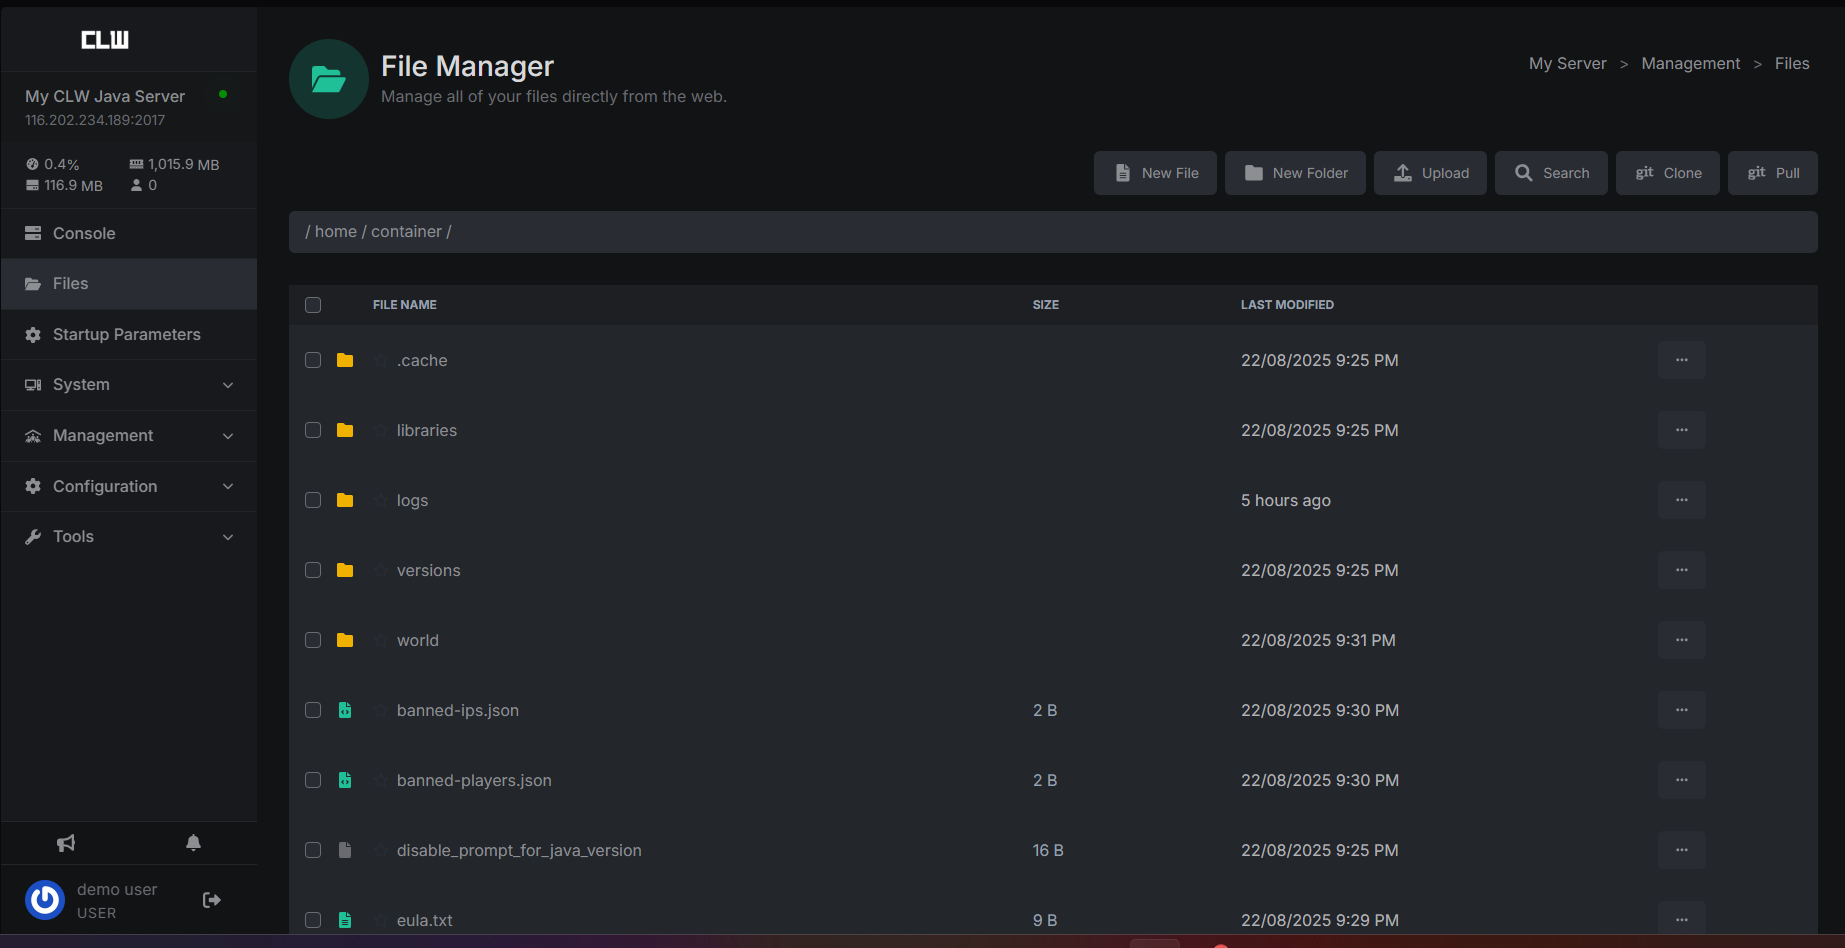
¶ File management
The file management allows you to upload, edit, and delete server files. You can upload or edit files directly via the web interface.
-
Upload
: Upload files or entire archives. For larger data volumes, we recommend FTP file transfer.
-
Edit
: Edit text files directly in the browser.
-
Delete
: Remove unnecessary files.
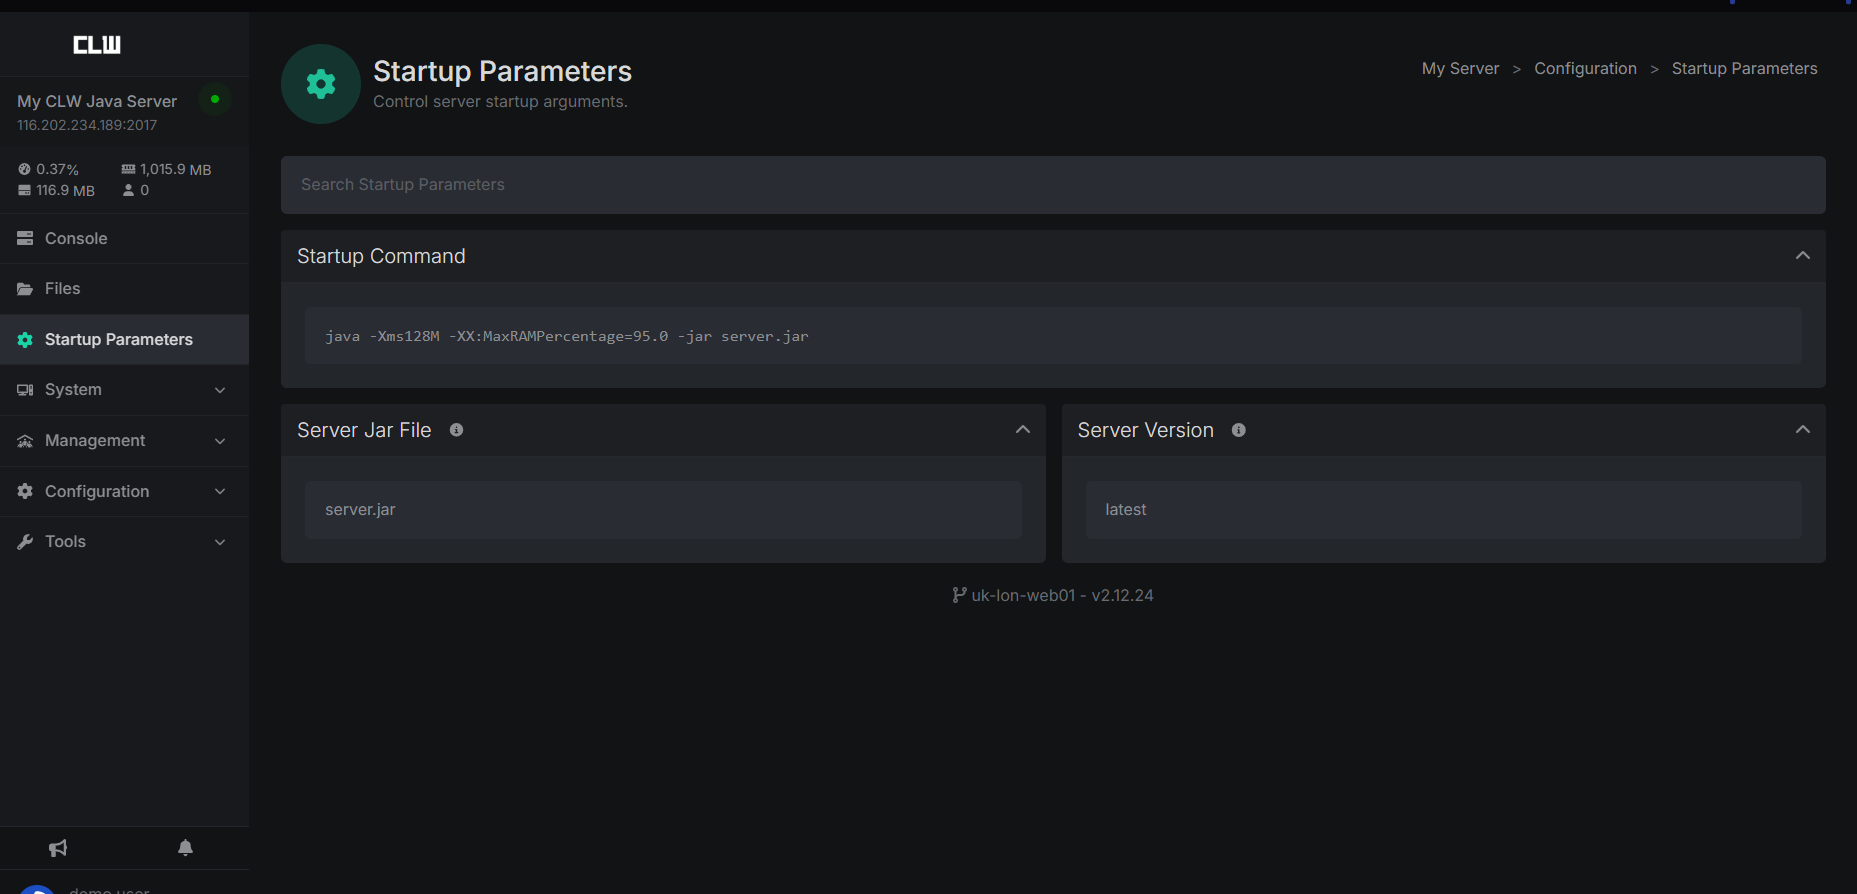
¶ Startup parameters
: Here you can adjust the server startup parameters
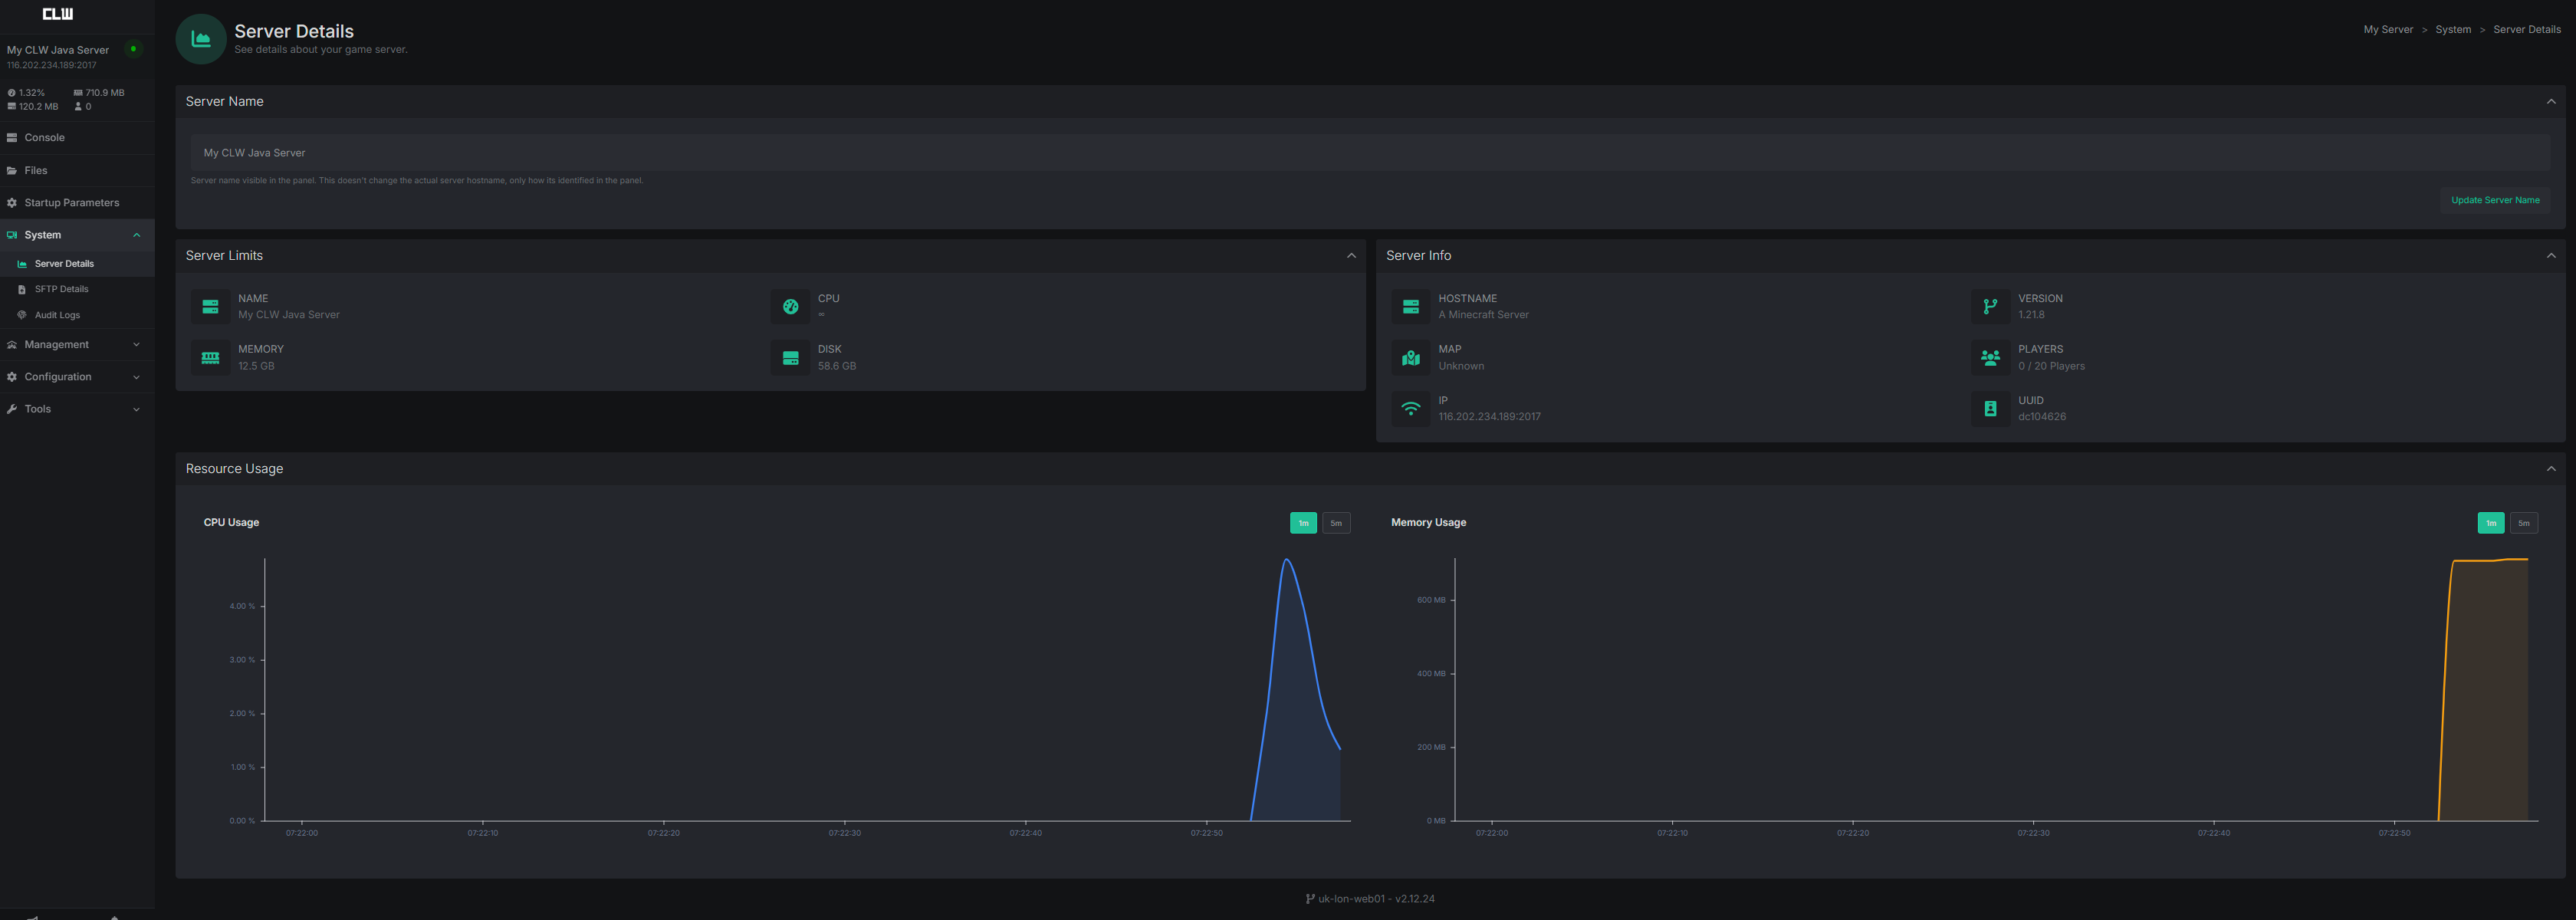
¶ System
The System interface shows you Server Details, SFTP Details & Audit Logs
-
Server Details
: Shows you Server Name within your game panel. Your Server Limits (Server Name, CPU, RAM & Disk), Server Info (Hostname, Version, Map, Player Count, IP Address and UUID) & Resource usage (CPU Usage Live Graph & RAM Usage)
-
SFTP Details
: This shows you SFTP connection info for your server to connect via SFTP
-
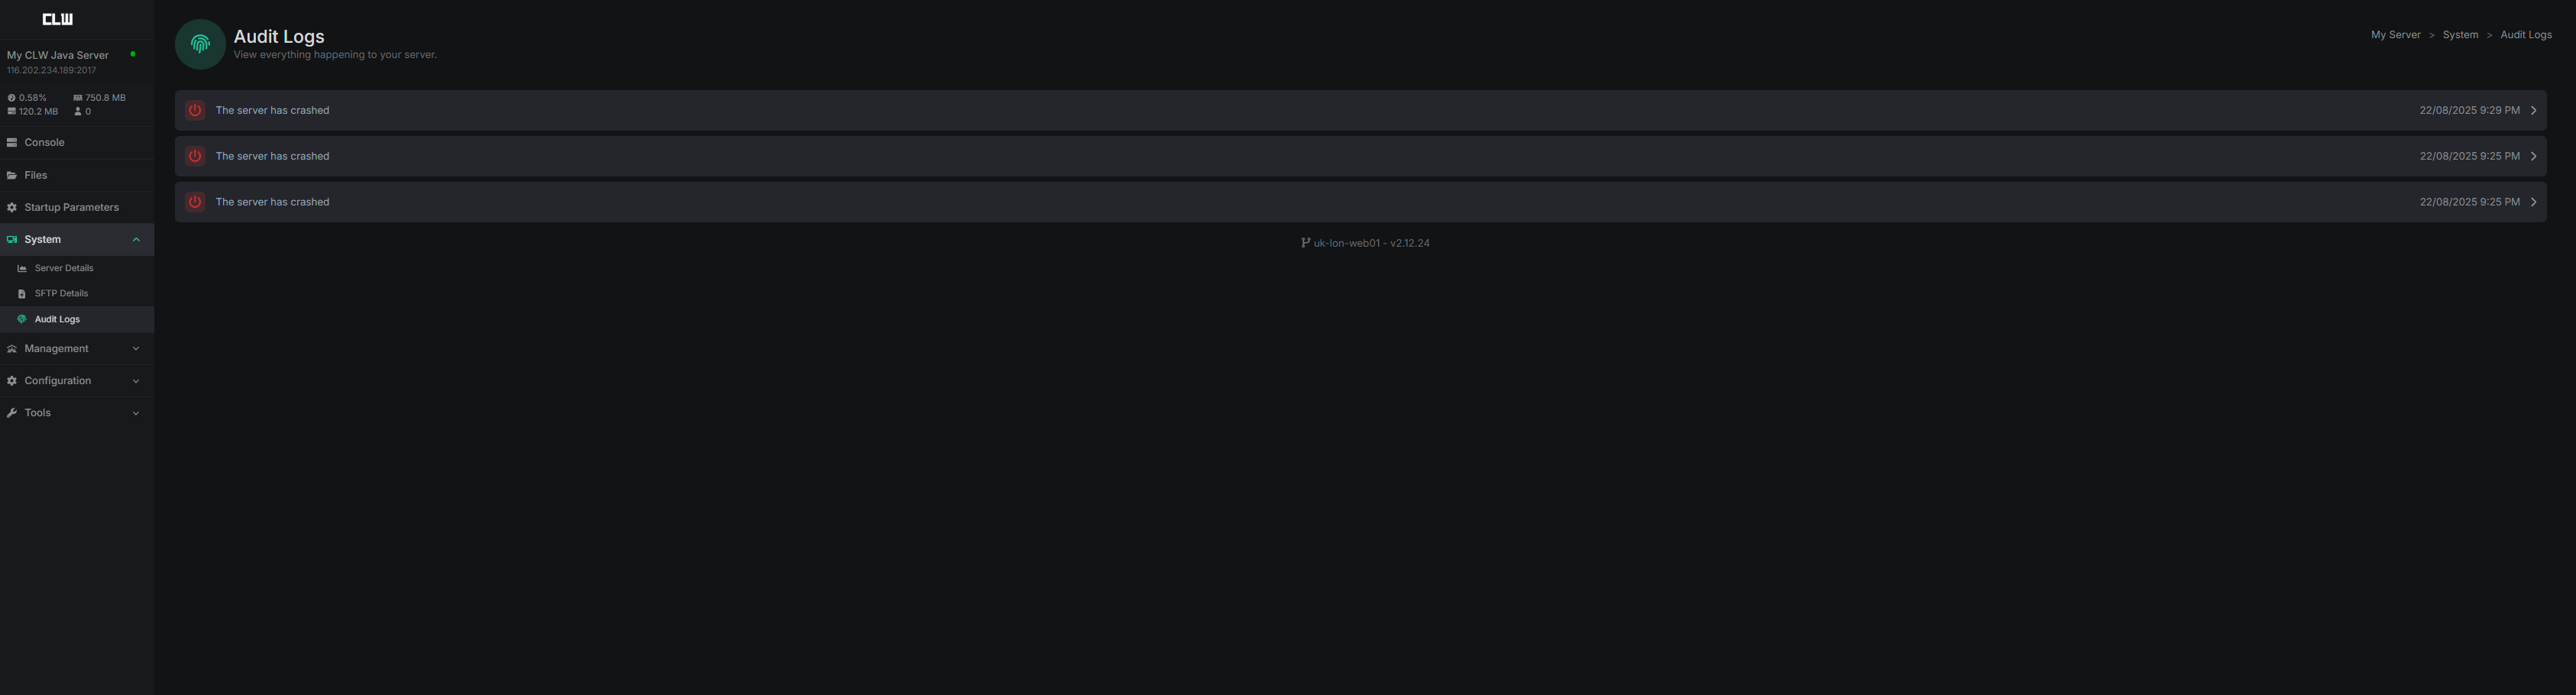
Audit Logs
: To view all logs for your server

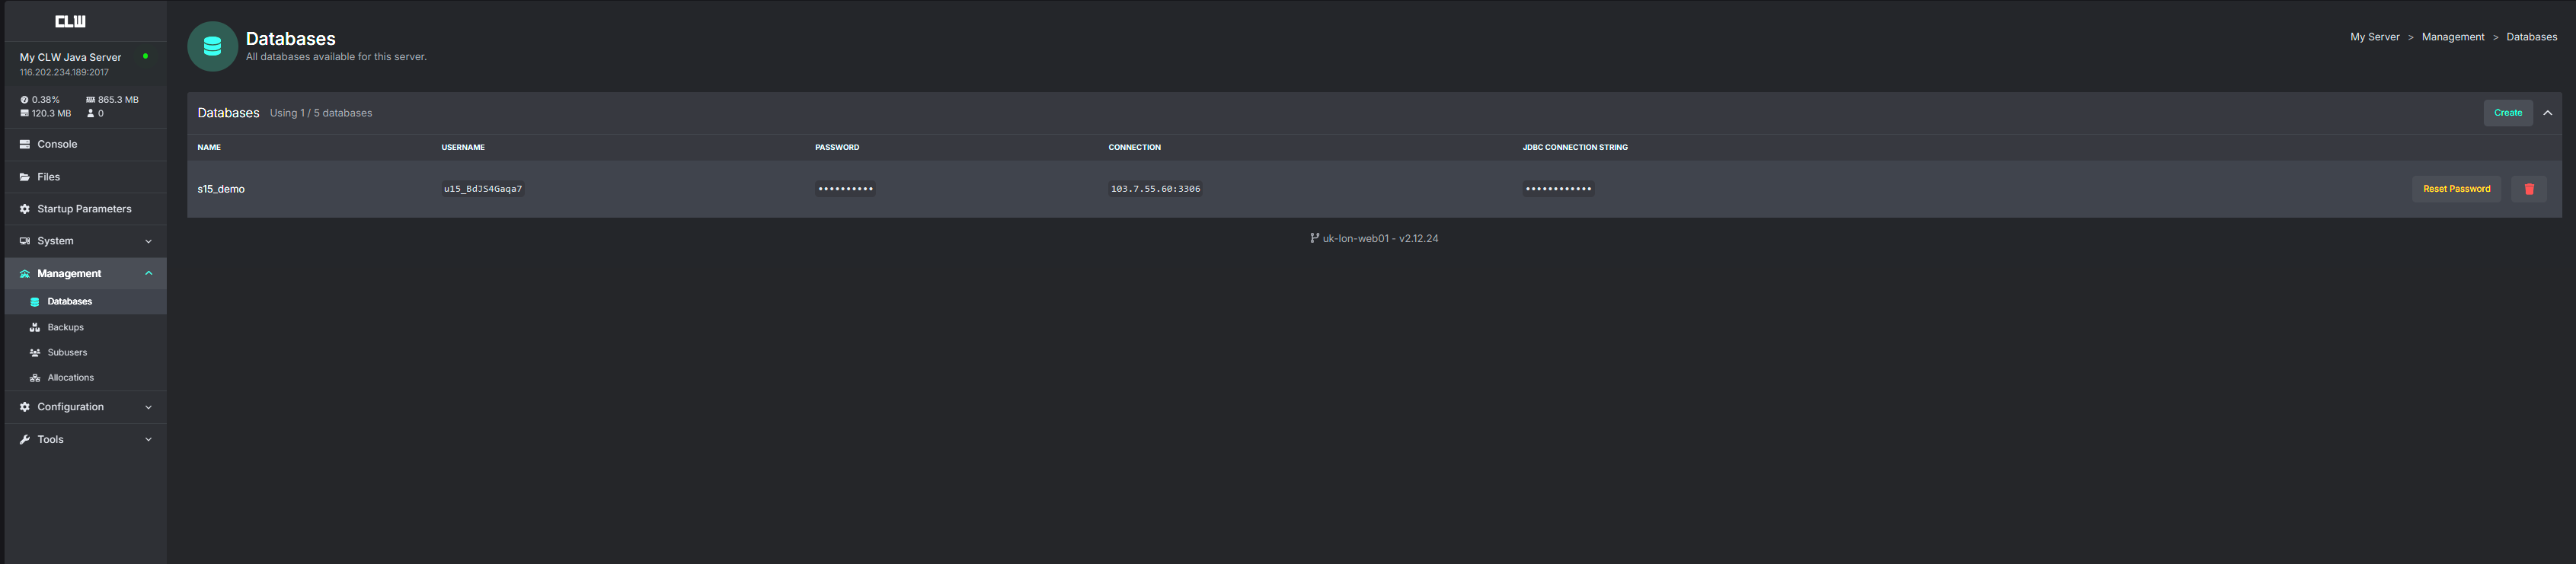
¶ Management
The Management interface gives you Database , Back Ups, Sub Users and Allocations options
-
Databases
: This is where you can create databases for your server
-
Back Ups
: This is where you can create back ups for your server
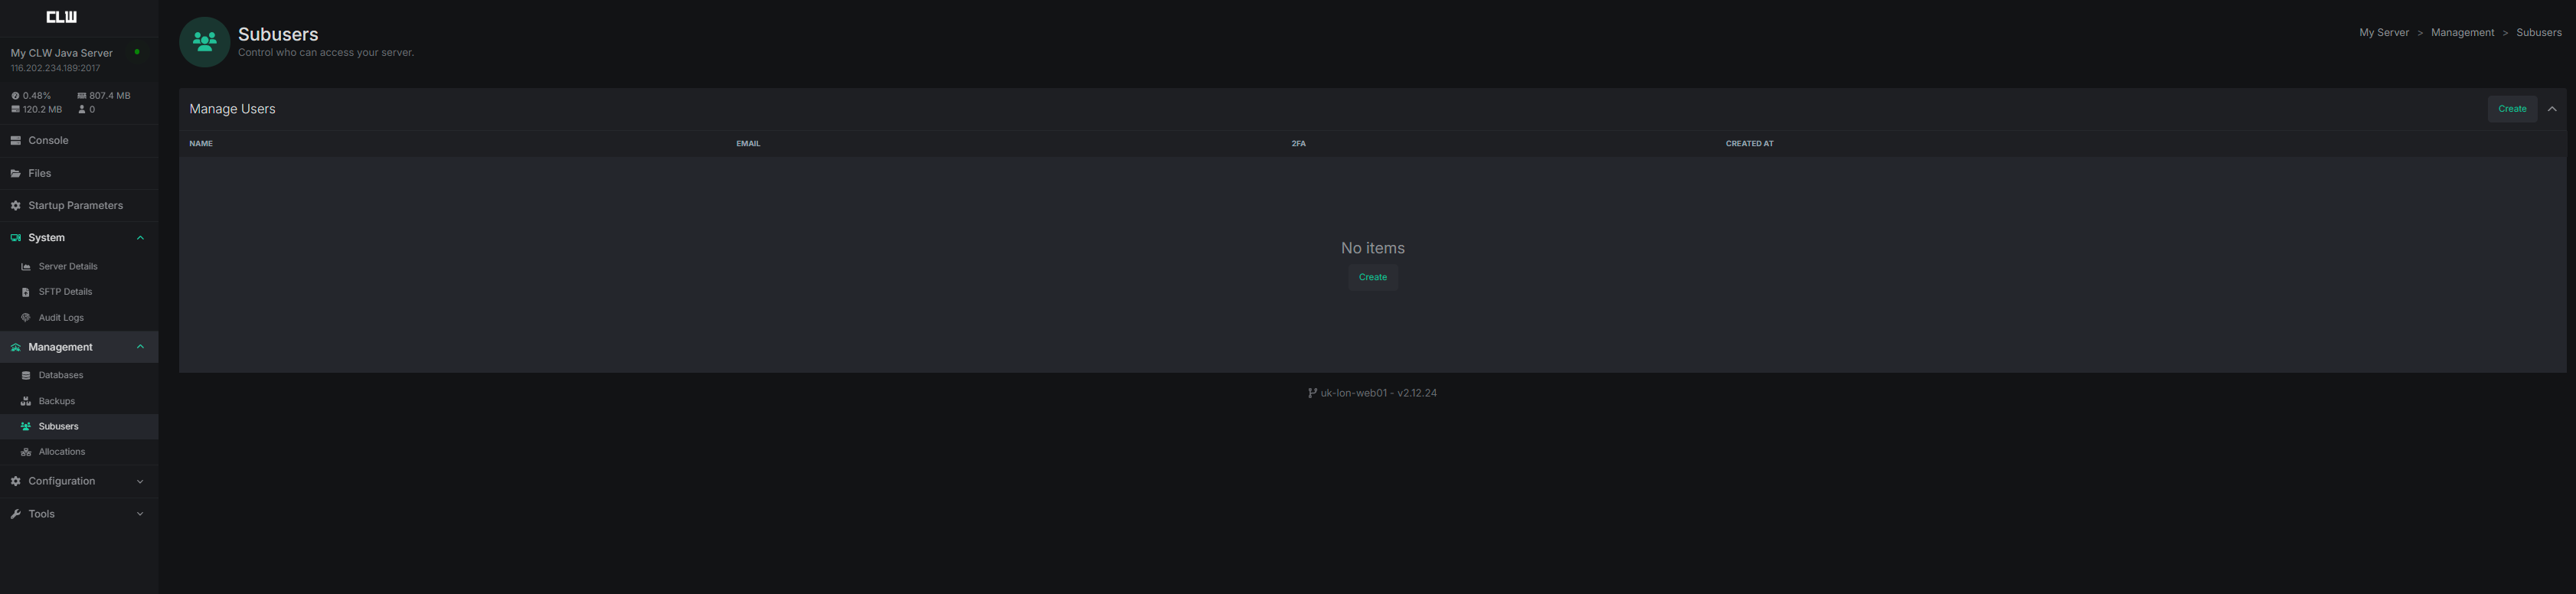
-
Sub Users
: This is where you can create sub users for your server
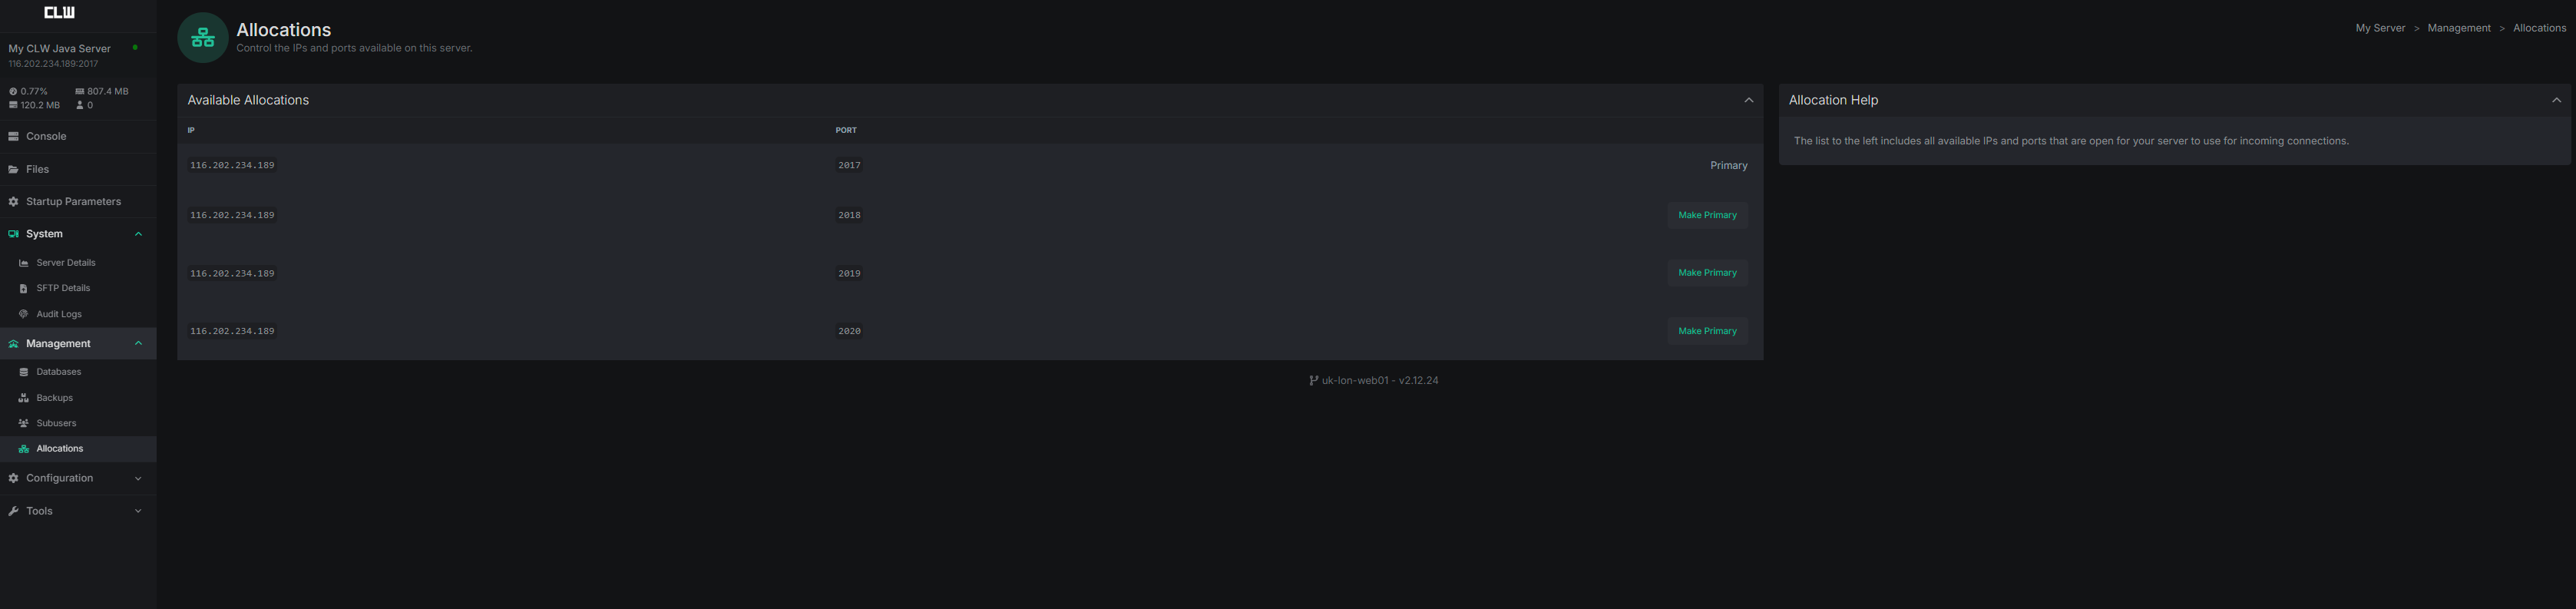
-
Allocations
: This is where it will show any additional port allocations for your sever

¶ Configuration
The Management interface gives you Database , Back Ups, Sub Users and Allocations options
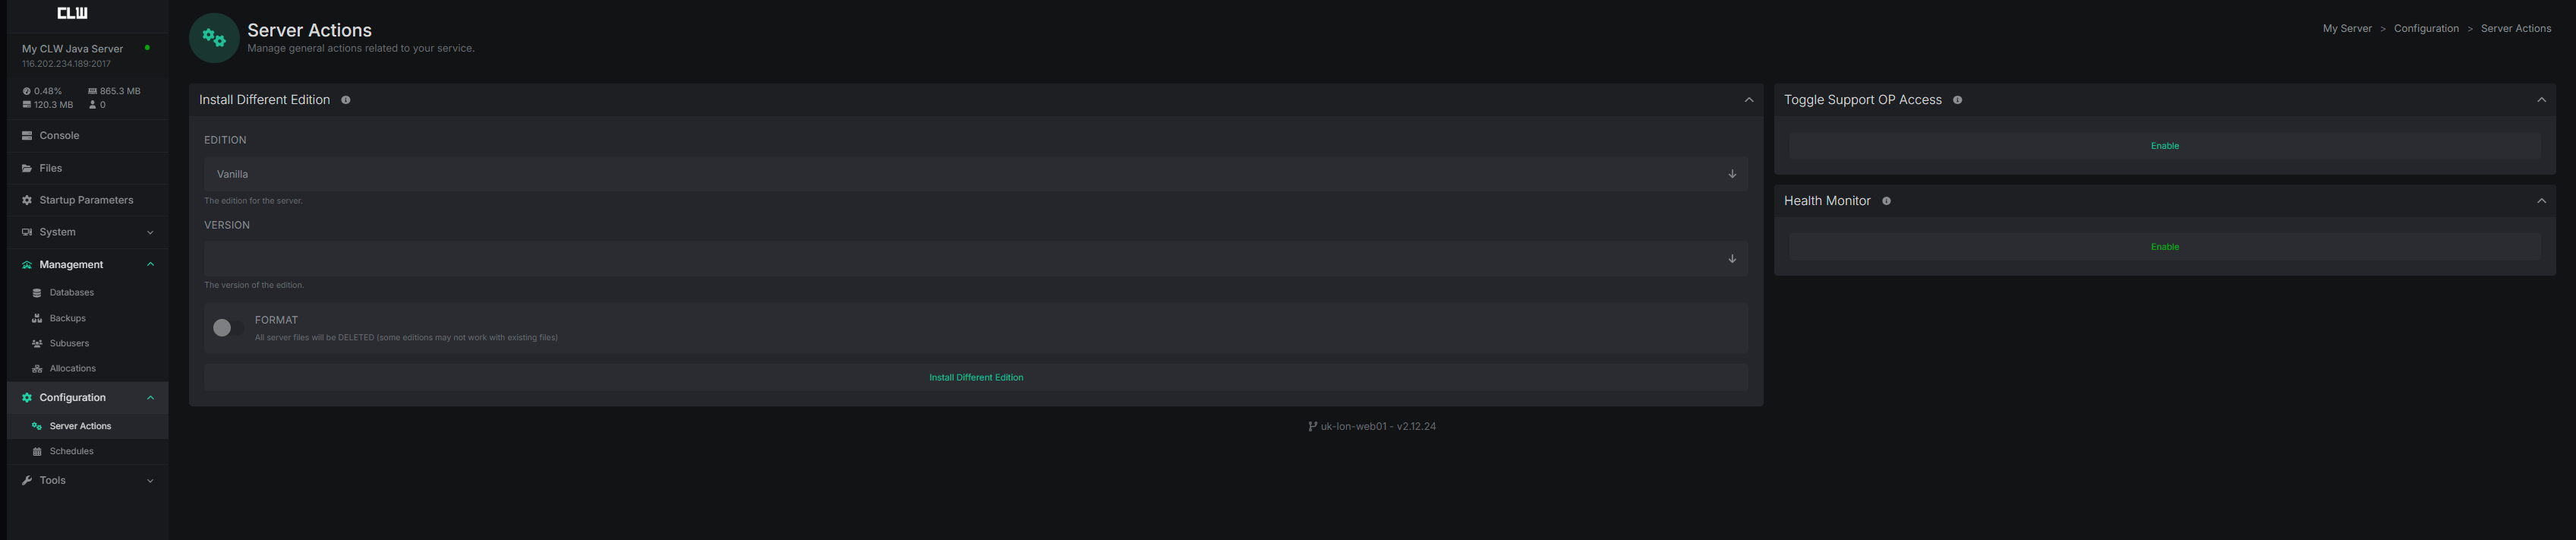
-
Server Actions
: This is where enable Support OP Access , Enable Health Monitor and Install Different Edition (Minecraft Java Servers only)
-
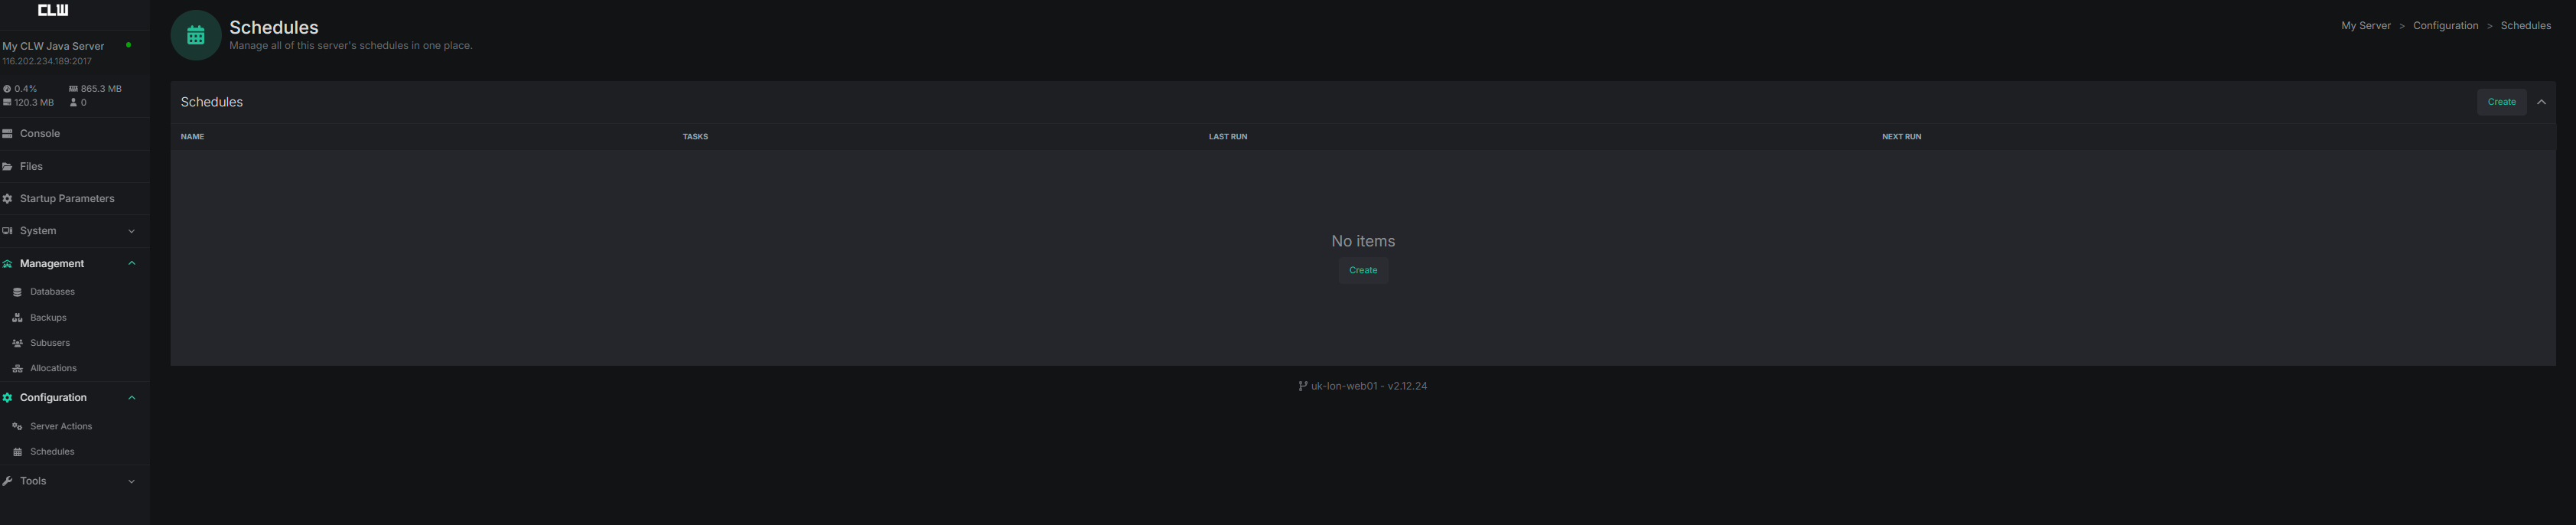
Schedules
: This is where you can create scheduled tasks for your server
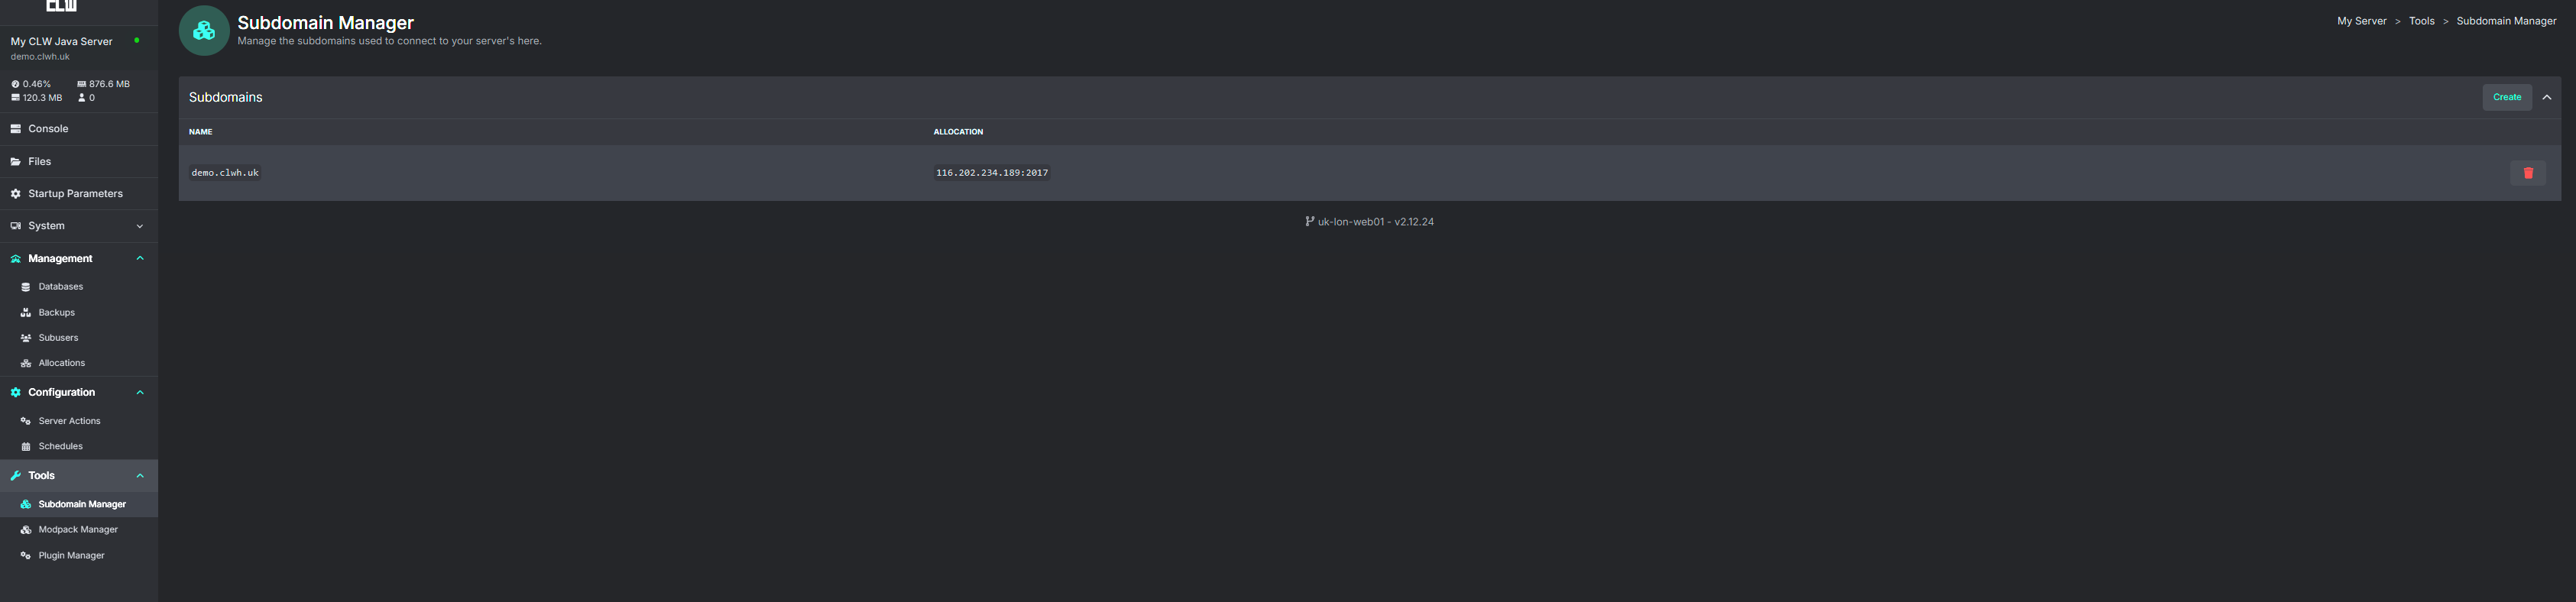
¶ Tools
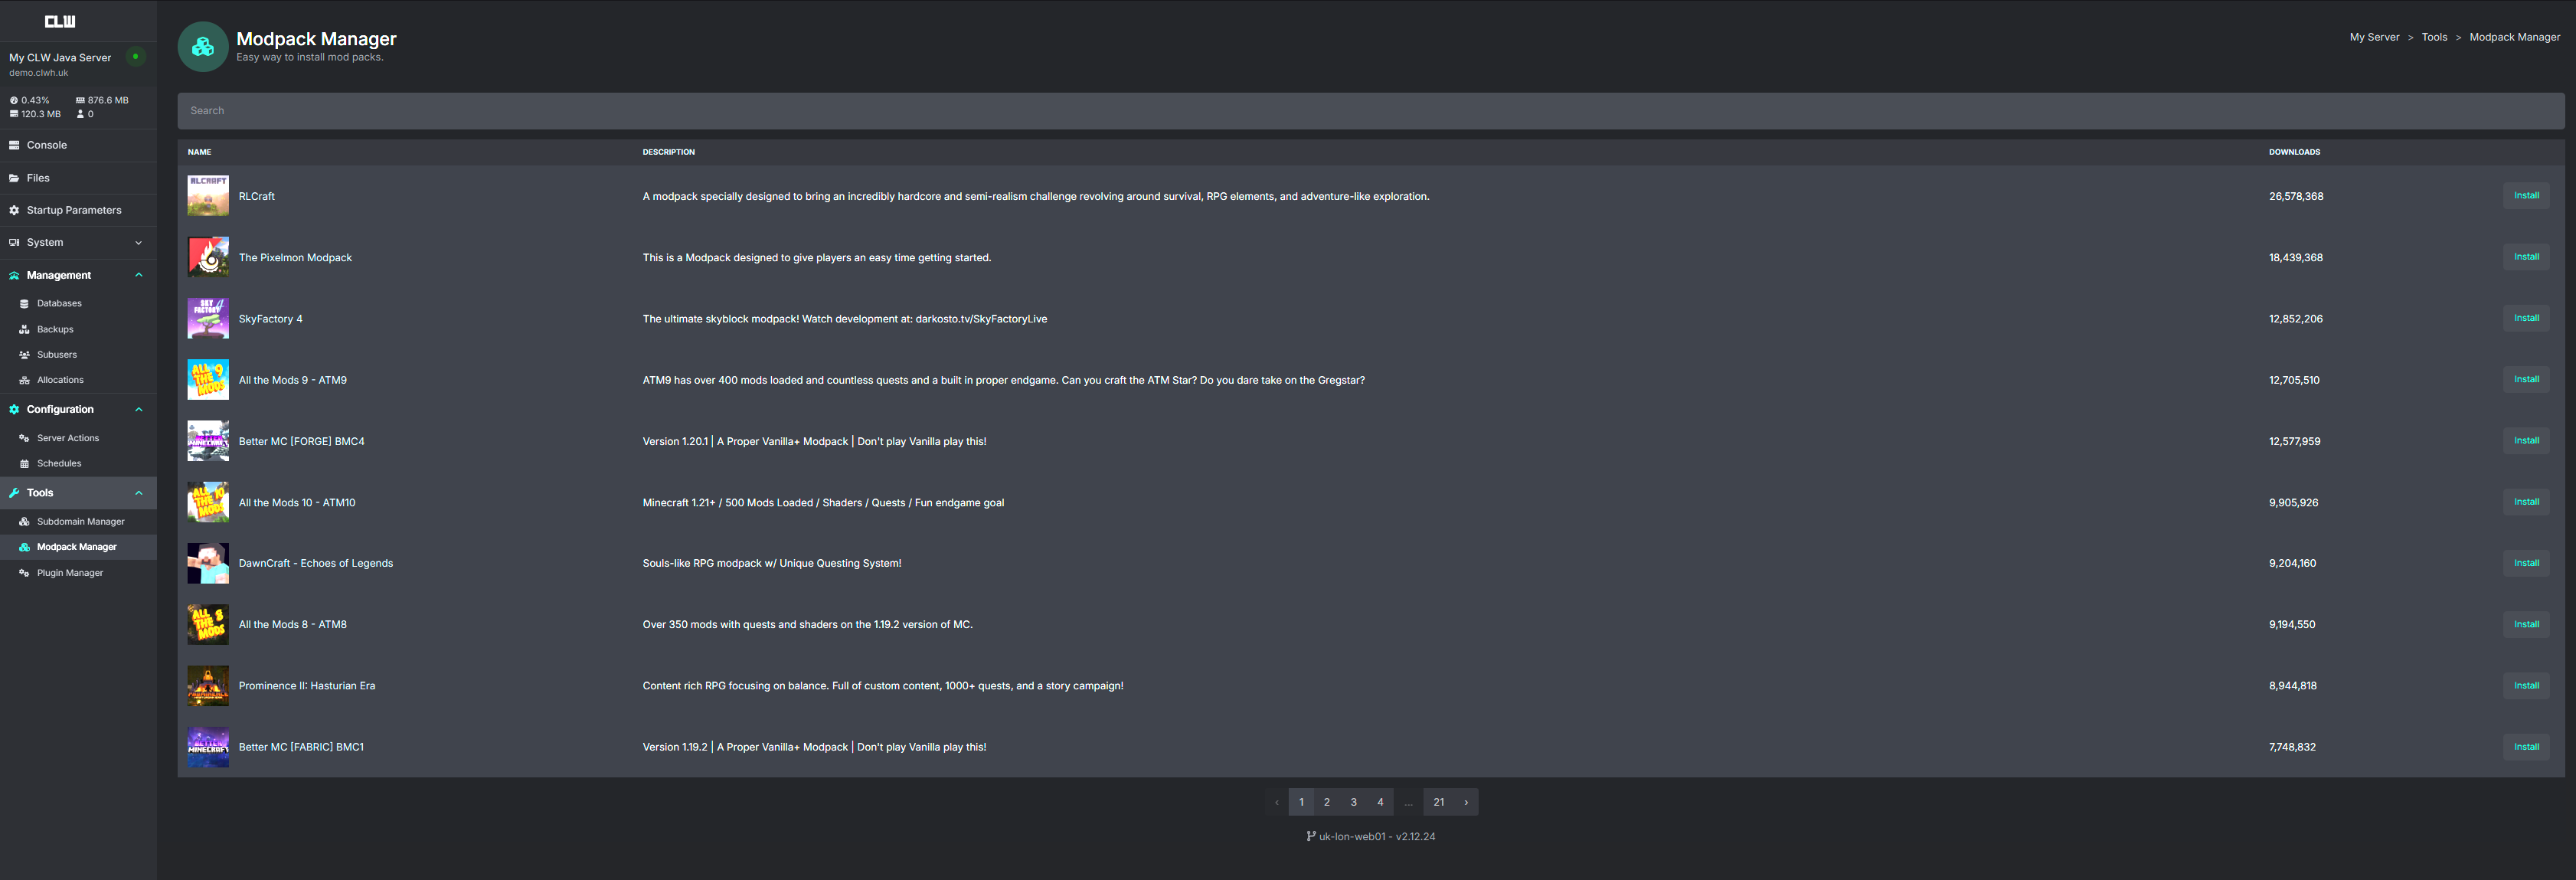
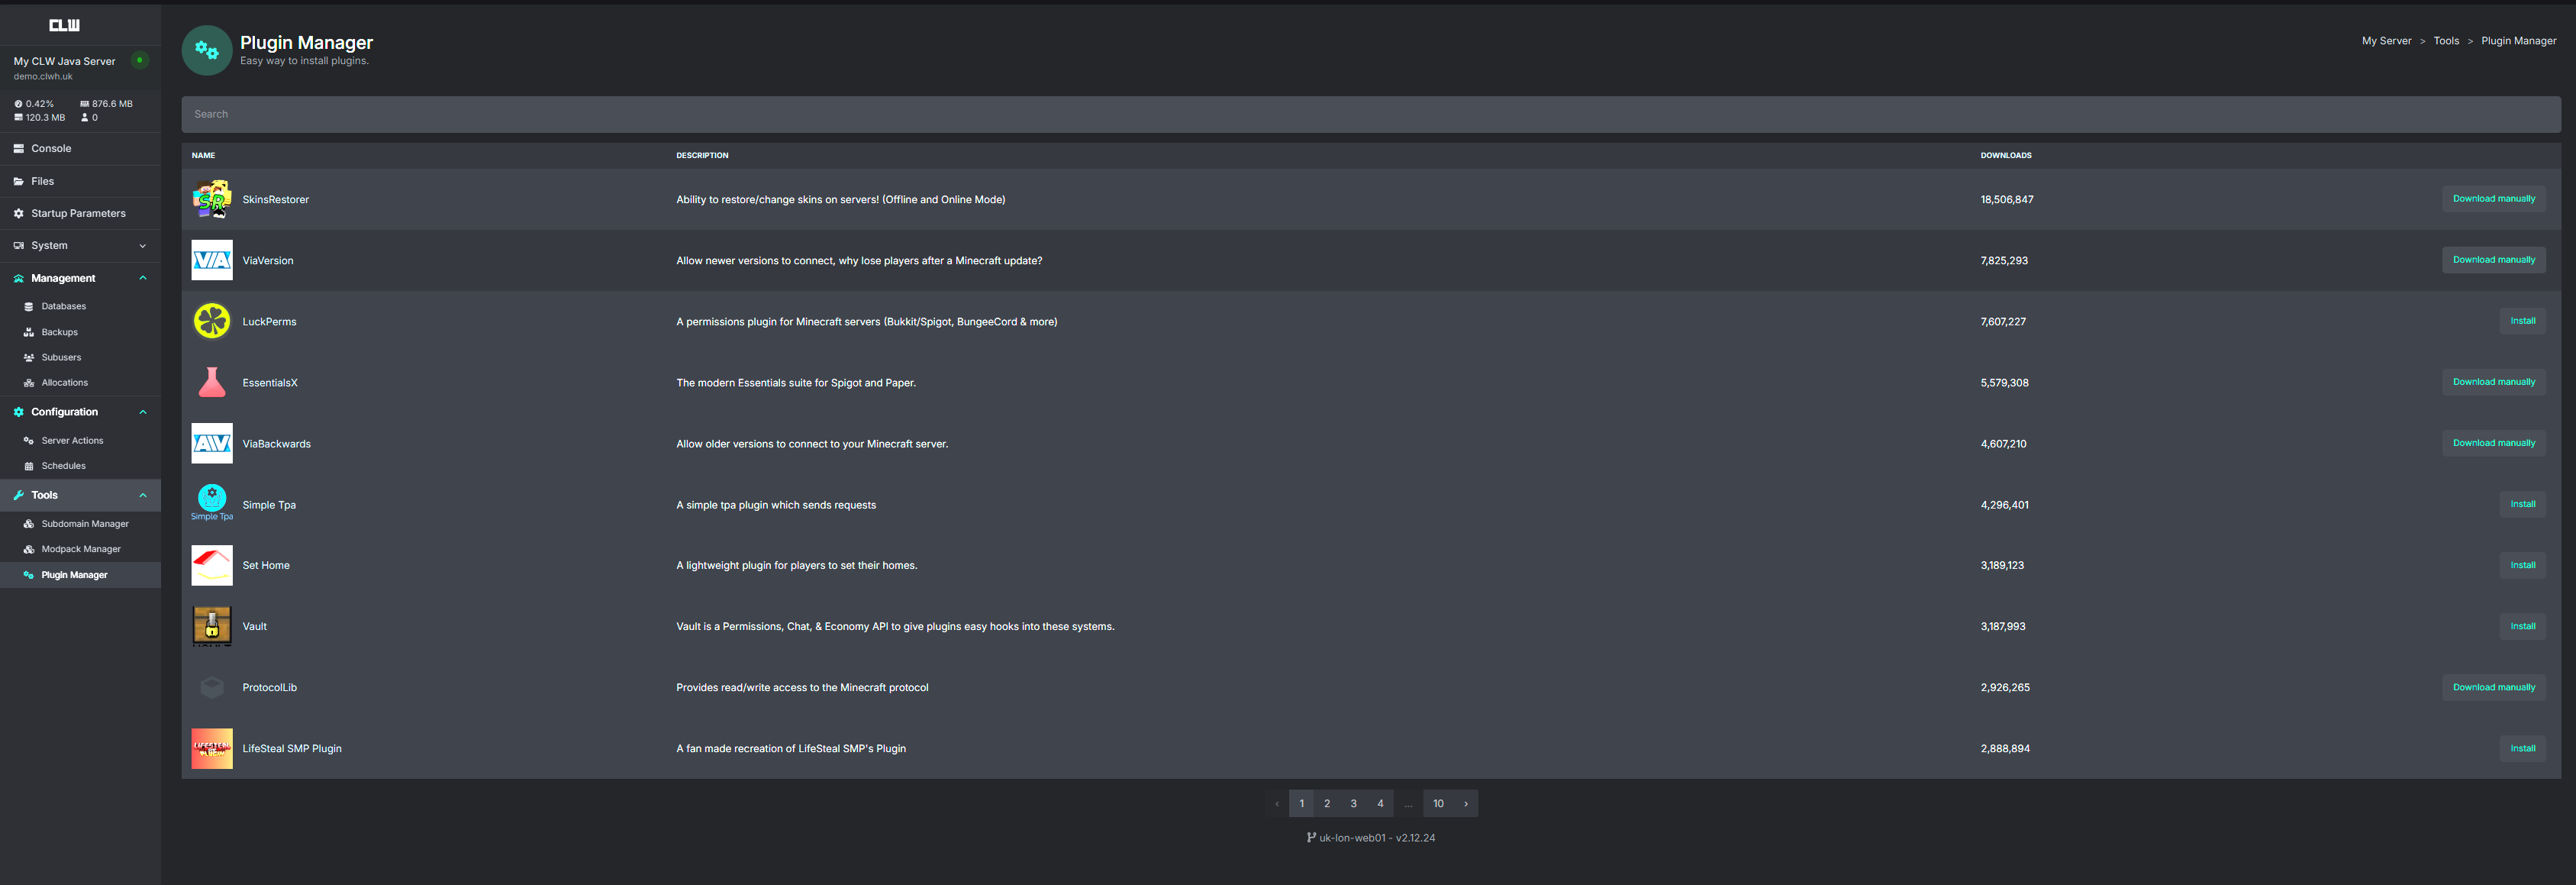
The Tools interface gives you the following options Subdomain Manager , Modpack Manager, Plugin Manager
-
Sub Domain Manager
: This is where you can add a subdomain to your server in place of your allocated ip address
-
Modpack Manager
: This is where you can search and one-click install mod packs for your server (minecraft only)
-
Plugin Manager
: This is where you can search and one-click install plugins for your server (minecraft only)